This post was contributed by our friends at Play Haus Designs.
Ever wonder why you have soooo much stuff in your playroom and conquering it seems like an awful idea? We can tell you why – because organizing toys seems like a task that you can’t accomplish and leaves you second guessing getting rid of anything. Fear that your child might want to play it again, guilt that you spent a ton of money on something and hesitation because you might have another kid. Often, the toys pile up in bins and children don’t take the time to dig or sort so they are left playing with the same old things day in and day out.

Use these 6 handy steps to organize your room for play and make no mistake… You will actually figure out what your child loves, what you can ditch and what toys have become “new again”! Organizing toys by category and even size lets your little ones focus on specific items rather than getting overwhelmed by “stuff”. It allows for independent and imaginative to happen more organically without you saying “do you still play with this?”
-
DUMP ‘EM – Dump all toys in the middle of the room, use the wall space and corners for your sorting and separating
-
PILE ‘EM – Start making piles… superheroes, cars, dolls, magnatiles, play kitchen stuff, crafting and more. If you have a ton in each category like crafting, you can then do micro categories such as painting, drawing, papers, etc.
-
TRASH ‘EM – Don’t forget to make a donate or recycle pile. This is ideal for anything the kids have outgrown, items that are broken or randomness (ie: 1 barbie shoe or empty LOL packages)
-
LABEL ‘EM – Once you have your piles use post it’s to label the items around the room on the walls
-
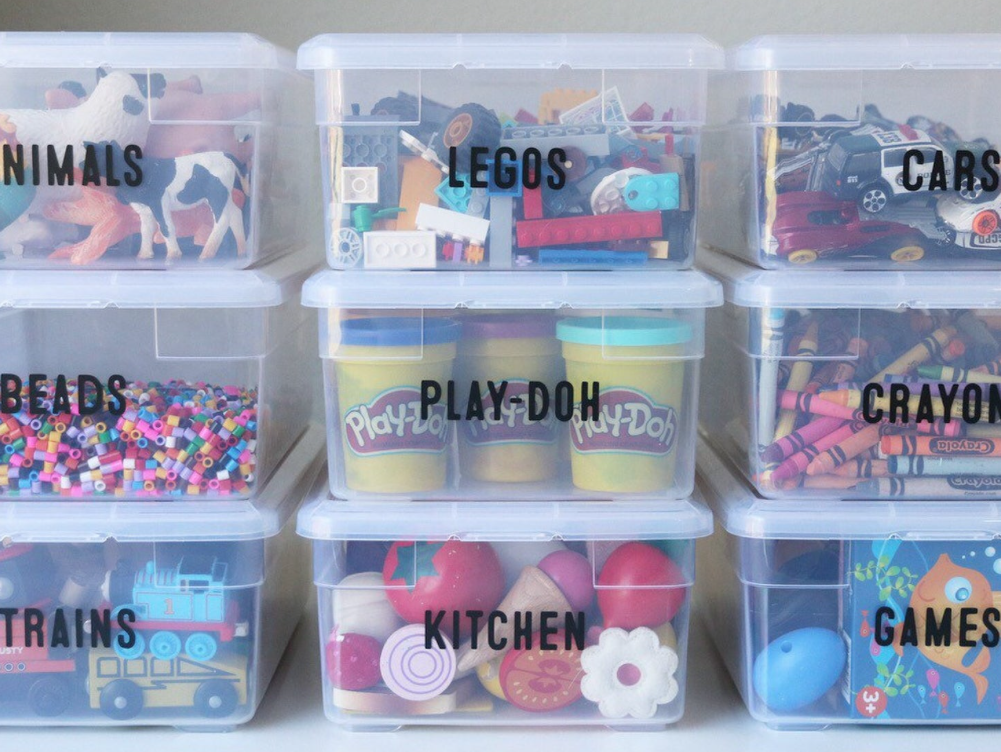
COUNT ‘EM – Now that you have your piles with post its, you know exactly how many bins and the sizes of those bins you have to snag. There are so many amazing organizational stores in a variety of price ranges. From fancy schmancy to the local dollar store, you can find bins and baskets in any price point. We love clear bins with lids. They are easy to stack and easy for kids to peek into to see what they want to snag for play.
-
ORGANIZE & LABEL ‘EM – Once you have your bins, your piles are ready to go into them. Use an old school sharpie or get fancy with cricket labels from Etsy. Labeling your bins allows your kids to quickly pull and put back during clear up time.

Rotate the bins monthly to change things up. Children often will grab the same bin based on placement and accessibility. Rotating the bins will introduce them to new catoegies and new toys!

Need some help with the impossible? Playhaus Designs starts each project with organizing. Call or email us today to chat about how we can help! hello@playhausdesigns.com